Friday, February 2, 2024

Life is Tough

 Just wanted to create an original card today, so I pulled out an already die cut embossed burlap stamped image scrap and a small scrap of watercolor paper. I embossed a sentiment from Unity’s Difference Maker kit onto the watercolor paper and then proceeded to watercolor some sprigs. I then distressed the edges.

 I found a piece of paper I had tried leaf/coffee staining on that I could use as a background. I used a background stamp from an old Unity SMAK kit on it. I then added a paper strip to it.


To complete the card, I added fancy string and matching crystals!


Unfortunately, I know a few folks that can use this one! Thanks for stopping by - till next time, happy crafting!

Wednesday, January 24, 2024

Another Galentine Card!

 Just had to do it… pulled out some of Unity’s Angie Blom kits, Born Again Today and No Time for Guilt and coupled them with Prima papers! I started by stamping the image, using a beige ink, onto a peach colored stationary paper that I could use colored pencils on. I stamped it again using a Mulberry ink onto Prima patterned paper. I used my Prismacolor colored pencils on both and paper pieced the clothing onto the original image. I then fussy cut them out. I cut down another piece of patterned paper for the base layer. I used heart dies on several more patterned paper sheets. I inked up all the edges.

I then found pink and maroon coordinating paper stock I could use for the card base, bottom layer and another heart. I then assembled the card using dotted ribbon, a brad and crystal dots. I cream embossed the sentiment from the other kit and fussy cut it out, completing the card. 

Guess I’m on a bit of a vintage vibe right now! Hope you enjoyed this Galentine card!

Sunday, January 21, 2024

A Few More Sketch 41 Cards

 Okay, I kinda got onto a Sketch 41 kick earlier this month… just had some fun. So here’s 2 more using:

Sketch 41

First, I continued using Scrapbook.com’s Hello Winter kit, this time using the polar bear stamp. I used sone alcohol markers for the first time with so so success. I ended up using a pink marker trying to obtain the pink hue of the paper. I added cheesecloth and sequins to complete the card.

For the second card, I used the Dress My Craft’s Christmas Vibes paper collection again coupled with an ephemera pack from Studio Light. Pretty easy card to pull together with a Studio Light sentiment, and twine. I added Liquid green dots to complete the card!


Really love the Dress My Craft paper images! Well, that’s it for this sketch…thanks for stopping by!

Monday, January 15, 2024

Valentine 1.0 - 4 Cards

 So, I’ve been on a Valentine’s Day kick, for some reason! Maybe, I needed a break from holiday cards or just needed another holiday to look forward to! (January is a bit of a downer!) Even thinking of baking some Valentine’s Day cookies! Whatever, but here’s hodgepodge of cards I can share that I’ve created over the last week! After pulling out my boxed up heart supplies and stamps, I just needed to play!

First off I started by taking a sheet of paper and cutting a couple hearts out of the center. I had some leftover glossy tissue paper from a craft store pancake that I used as the base for a shaker card. I diecut a couple other hearts I could use to frame the cutout hearts shape from scraps. I then used acetate and pretty crystals and hearts to create the shaker. I ended up using an old Stampin’ Up Sealed with a Kiss kit to create a little envelope and note. I die cut more hearts for embellishment and backed up the shaker with another patterned paper. I used an ephemera and Gina K kit for the besties sentiment. Finally added little sticky hearts to complete the card! Not my best, but shakers are fun!

For the next card, I decided to pull out an old BoBunny Sweetheart die and a Simon Says Stamp sentiment die. I used a shiny silver paper from a Recollections pack I just picked up to die cut pieces. I used an Altenew Dainty leaves die to cut out foliage sprays. I then cut down various papers from my stash and pulled the card together using lace, crystals and matching ribbon. I used a sentiment from a Simon Says stamp kit to complete the You Are phrase. Liked this one a little better!

Next, I pulled out a background I created last year using glimmer sprays and powders along with Simon Says Stamp Heart to Heart background stamp. I had white embossed the paper first before spraying water and using the powders and inks. Lovely background to use with this technique. I coupled it with a metal hearts embellishment I picked off an old card. I found a black paper from an older LDRS paper pack that I decided to use as the base and for a sentiment background. I used a Simon Says Stamp sentiment due and a glossy white paper to create the sentiment.  To complete the card, I added bunches of sequins! Made for a pretty card.

Finally, going vintage,  played around with Prima’s With Love paper collection. I cut out a base and another flower layer from the paper. I decided to pair it with another leftover stamped background I created using Unity’s Love Quilt. To match colors I ended up adding pink and mauve tones and spatters to it. I then pulled out Unity’s Poppy Impressions stamp set. I used the smaller flower image twice, once having stamped the base layer with a matching sand colored Memento ink, then pink embossing the outline. Then, the second time, I pink embossed the outline and used pink, gray and green Inktense pencils  to color in the image. I fussy cut both out. Then white embossed the sentiment on scrap paper and fussy cut that out. I used the tiny background stamp from the kit to add a little texture to the rose image and lower background paper. Finally, I distressed all layers, added a tie dyed pink fabric paper, rose ribbon, metal leaf and pink crystals to complete the card! Must admit, this one is my favorite, but then I’m a “vintag-y” gal!

If nothing else, they are all interesting to look at and were a lot of fun to play with! And, I got to use a lot of my old stash!

Hope these were inspiring for you! Thanks for stopping by!

Saturday, January 6, 2024

Friends of Unity January Blog Hop

 Happy New Year! Welcome back to another Friends of Unity Blog Hop! Starting off the new year with a new, to me, theme:

Guess it was time to bust out a few unused stamps sets and try them out for fun! Went a little vintage on these but had a great time pulling them together! Before I start, wanted to remind you that our blog hop contains giveaways from our personal stash! All you need to do to be eligible to win a prize is leave your name and a comment!

So, for the first card, I used a brand new stamp set called Stunner! I had to snicker at the snarky sentiments on this one! And, I remembered my snarky friend has a February birthday! I pulled out a pretty Ciao Bella Brocatto Estense paper pack I thought looked old fashioned enough for the image. I had a freebie paper I received from Unity with a postcard image on it that I used as a starting point for the stamp. I used pencils and a white pen to color it in. I stamped the sentiment on another paper from the pack. I then cut down papers from the pack for the background. I decided to use a leftover burlap stamped paper I had created previously. I inked all the edges, to distress them, before assembling the card. To embellish the card to match the image, I used Jane Davenport feather dies with colored papers and sparkly embossing powder. I also used a brad, pearls, Washi tape, a paper flower and blue thread. Can’t help laughing at what my friend’s reaction will be when she sees this!


For the next card, I pulled out an older stamp set, called Queen of the Universe! I used an old Kaisercraft paper pack I recently received in a mystery craft bag, called Cherry Tree Lane. I stamped the image and sentiment on one of the papers and proceeded to cut or tear down papers from the pack. I used a notebook die on the side. I paper pieced a blous on the image with another paper from the pack. I used pens to add color to the image. For embellishments on the one, I used lace and a fancy ribbon, another freebie flower embellishment from Unity, Washi tape, a Tim Holtz sentiment strip and pearls, again. Had to fussy cut some extra flowers as filler, but I like the soft look the flowers add.


Love Unity’s snarky and funny stamp sets…again there’s many to choose from! And these vintage type stamps, in particular, just resonate with me! Well, hope you enjoyed these ideas for using these stamps! Thanks for stopping by and remember to comment, with your name, for a chance at winning some Unity goodies from me! Now, on to the rest of the hop!

You may have arrived here from:


You can start at the top of the hop with:


Friday, January 5, 2024

{BYSHC} Sketch Challenge #41 - Unity Stamps

Hello there - nothing like starting the New Year with my first 2024 Christmas cards using the new Build Your Stash Holiday Card Sketch Challenge #41!


I decided to make my own ornament for the first card using a circle die, Unity’s Ornament Builder’s Set 1 stamp set, and a hook holder I designed and watercolored myself! I used a combo of watercolors, oxide inks and embossing powder on the ornament! I added Unity sentiments, and embellished the card, after cutting down the panels, with sequins, gold ribbon and a Tim Holtz die.

For the second card, I had to try out Scrapbook.com’s new Hello Winter card kit, which I couldn’t resist picking up! I used a slightly larger card base for this one. I used paper from the pack and glittery silver card stock to create this one.

I used pens to color the polar bear and a Simon Says Stamp die for the sentiment. I’m just in love with the polar bear images and dies from this set! I embellished the card using the snowflake die and some silver snowflakes. Pretty simple but had fun playing with this card!

Thanks for stopping by and try your hand at this cute sketch! I already have another card in the cue using this one!

Thursday, December 7, 2023

{BYSHC} December Challenge Sketch #40

 Created a couple more holidays to get ready to send out using Sketch Challenge #40!


For the first card, I used various papers from my stash and a cute stick snowman stamp set from Unity called, Oh, Hey There, Winter. I stamped him and a present on white paper first and colored him in, and then again on patterned paper. I stamped and embossed a sentiment from a very old Unity Kit. I added white pen touches, sequins and pearls, Washi tape, a bow, and gold and white glitter on the heart and snowman. This combo made a pretty whimsical card!

Went more traditional with the second card! I used Dress My Craft Paper, a Tim Holtz die cut frame to create a shaker card and Studio Light ephemera. Just loved the vintage doorframe and had to dress it up as a shaker filled with white frosted glitter, and red and gold sequins. I cut the sentiment script from the paper and added a coordinating brad and twine.


Had fun creating these 2 very different style cards! Variety is the spice of life, right? Also having fun playing with a bunch of different items from my stash! Thanks for stopping by, and happy crafting till next time!

Saturday, December 2, 2023

Friends of Unity December Blog Hop

 Merry Christmas, if I don’t get a chance to mention it before the holidays hit us! And… Welcome to another Friends of Unity Blog Hop, with the theme this month:

Before continuing on, I wanted to remind you that our hop will be filled with personal giveaways. All you have to do to be eligible to win one is leave a comment, including your name. My winner from last month’s hop is

Barbara Collins

Please PM me your address so I can mail out a little package of Unity goodies with your name on it!

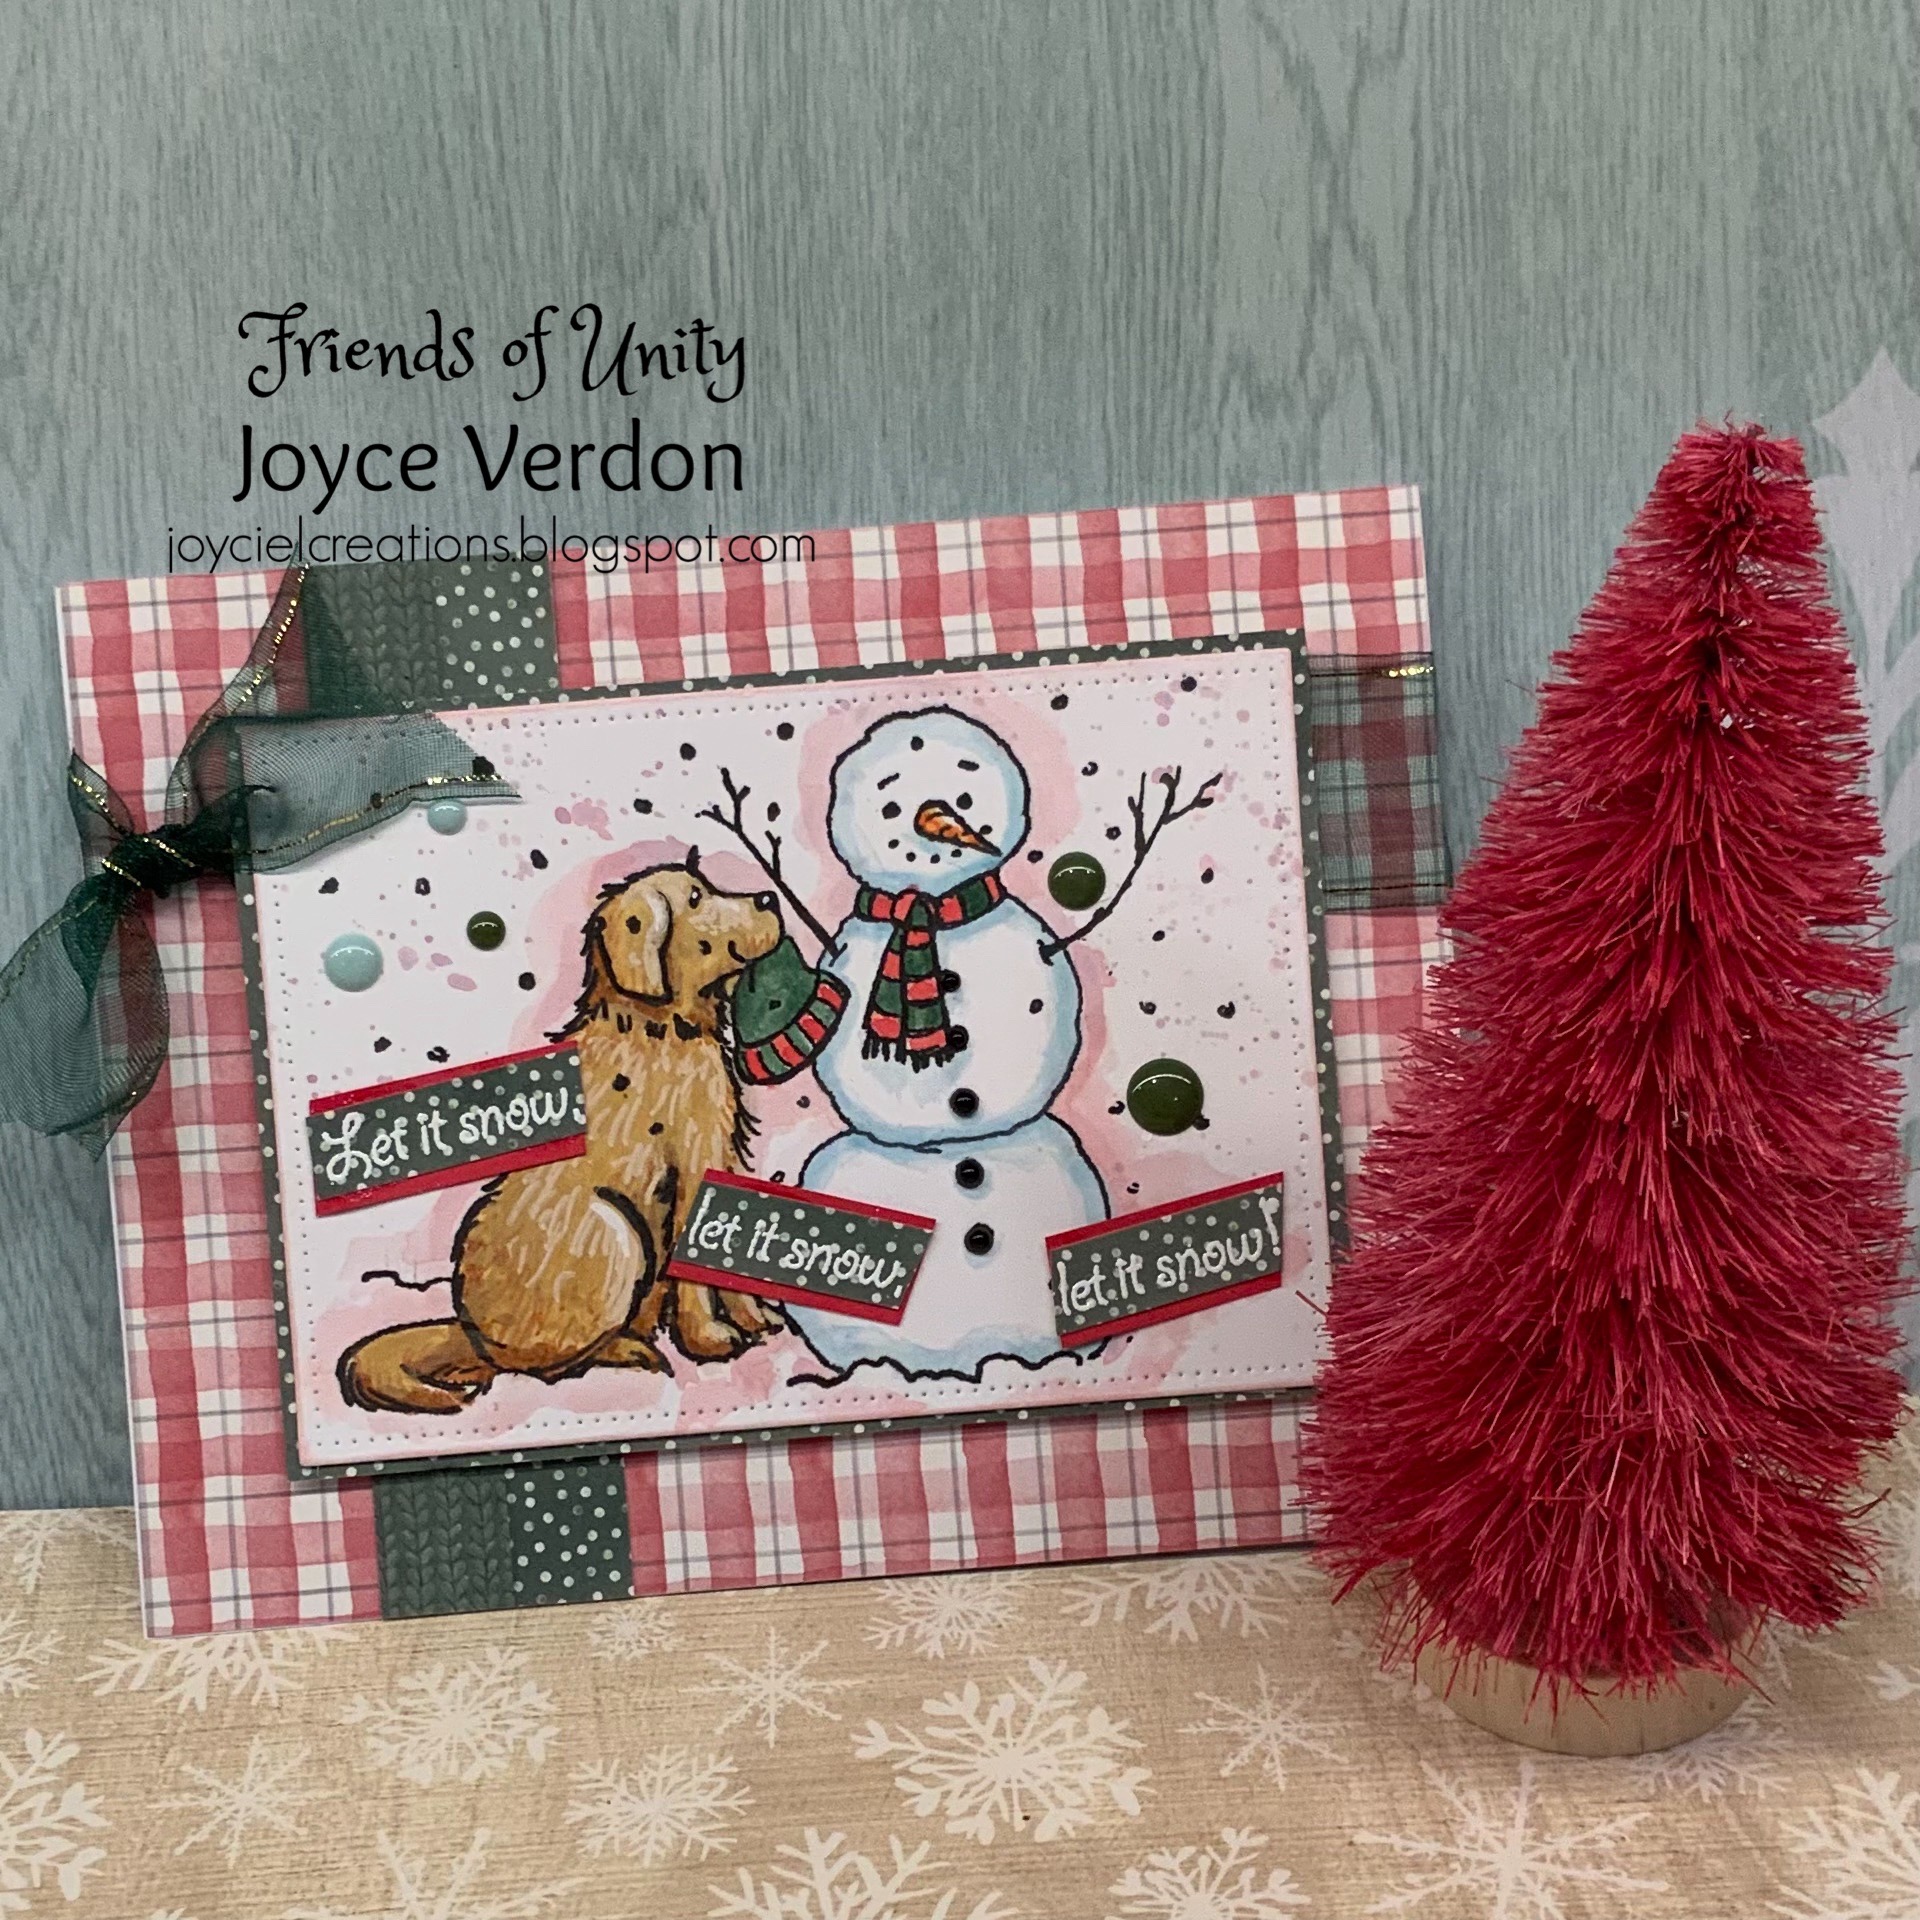
I decided to use this month’s theme to create some family cards! Now, my first card was made with my grandson, Damon, and grand-pup, Finn, in mind! Finn is a rambunctious 2 year old Lab that my grandson loves. So, I took a little leeway and used this perfect stamp from Unity, called Brandy & Emma/Let It Snow. All I had to do was crop little Emma out of the picture, so to speak ;-)! Here’s Finn!

I began by stamping part of the stamp using Versafine ink on Bristol paper. I used a pen to add his second stick arm! I used Distress Oxides to watercolor the image and added some marker action on “Finn”. I added paint spatters at the end. I found papers in my stash to match the colors I used by happenstance, and because this was going to be for a small boy, I emphasized the darker green color in embellishments, ribbon and for the sentiment from the kit.

Hopefully, Damon will like this one!

Now, the second card was made with my husband and our 2 little Havanese dogs in mind, Pico and Allie!


This time I used Unity’s Feliz Vavidog and Poinsettia with Love, for the sentiment. I used a Hanson Watercolor paper and Derwent Inktense pencils on the images, after stamping them twice. I had intended to use water with the pencils, but decided not to and instead used them as regular colored pencils. After, attempting to replicate my sweeties, I fussy cut them out. I pieced together a background using various papers (including the newest Simple Stories pad). After stamping and sparkly embossing the sentiment, I made it into a hanging sign using pens. I added crystals and puffy stamps to complete this one! Hopefully, my husband will recognize the similarity to our lovable pups!


This one was so fun to make… as I just love my pups and their funny faces! Well… that completes my efforts this month. I really didn’t expect to like the cards I came up with for this theme… but, surprisingly, they are some of my favorites this year!

Hopefully, this inspires you to try your hand at some Furry Friends cards… Unity sure has plenty to pick from! Remember to leave your comments all along the hop for a chance at winning some goodies! Thanks for stopping by, and now on to the hop! You may have come from:


To start at the top of the hop, check out:

Thursday, November 30, 2023

Unity’s Here Comes Amazon and Painted Poinsettias

 Fitting this in amongst other commitments, I quickly watercolored Unity’s Here Comes Amazon on watercolor paper. This paper was interesting as it had a very grainy lined texture, making for interesting water patterns. I’ll need to try this again, when I can spend more time with better techniques. I spattered the leftover paint over the sheet as well as spattering some gold Gansai Tambi paint.

I ended up gold embossing a sentiment from Painted Poinsettias, and added gold crystals. I backed with matching papers and a black paper. Think it turned out okay for a quick card! But, I really want to spend more time on this one!

Thanks for stopping by, till next time, happy crafting!

Sunday, November 26, 2023

Hero Arts Kit

 So, after a year (or two), I finally unpacked a Hero Arts kit and tried out a few things. I pulled out a random white with printed snowflakes scrap paper and started stenciling snowflakes using the 2 ink cubes included in the kit. I then found another snowflake stencil and used the glimmer spray included in the kit to add more interest. That shimmer texture and color are fabulous! The kit included a sparkly sheet that I used the Large Snowflakes and Swirls die on (it also came with the kit). I also used it on a coordinating DCWV glitter paper. I then found a coordinating AB Studio ephemera piece I thought I could use.


After drying, I mounted the paper on dark blue paper and started playing with designs.


I ended up adding a ribbon, clear crystals and liquid dots to complete the card! I found a random sentiment in my stash, and stamped the sentiment with one of the cubes. I then used the other cube to ink the edges and emboss with clear sparkle embossing powder. I used one of the included papers as a card base.


I’ll have to try all this again with the large background stamp I think the kit originally included…just need to find it ;-) ! But it was fun just playing around with all the pieces I gathered together! The die set and shimmer spray are clear winners here! 

Thanks for stopping by - till next time, happy crafting!

Holiday Card… Altenew + IndigoBlu

 Had a little crafty fun coloring this embossed card created with Altenew’s Pinecones embossing folder. I used watercolors on the background, and sponged distress oxides over the needles and pinecones. I then added TCW gold metallic paste and a shiny Picket Fence glaze over the pinecones. Finally, I added a little marker action on the branches and pine needles, then spattered white opaque paint over all. I cut down the panel and distressed the edges.

I then took a vintage holiday paper and added gold embossed details using IndigoBlu’s Christmas Wreath stamp set. I then embossed the sentiment on vellum, added a background paper and used a deckle edge die set to add a border with a DCWV high sheen paper. 

I die cut some branches with a TH die set, using a patterned green paper that I distressed with oxides. I then assembled the card on brown card stock, adding gold thread and gold sticky dots. Love the grungy feel of it!


Thanks for stopping by, and happy crafting till next time!

Saturday, November 4, 2023

Friends of Unity November Blog Hop 2023

 It’s time for another Friends of Unity Blog Hop! Join in this fun challenge, check out the hop and comment for a chance to win sone Unity goodies! This month our challenge is:

Before, I continue on, wanted to remind you that giveaways are happening in this hop… just leave a comment for a chance to win a Unity goodie package! I’ll be giving away another package this month so be sure to comment on your fav card! And one last item, my winner from last month’s hop is 

Joan Howaniec

Just PM me your address, Joan, and I’ll send your package out!

So, this is a card type I rarely use, but I had fun challenging myself to create a few holiday cards! They turned out to be 2 of my favorite holiday cards that I’ve made so far this year! For the first card, I embraced a card style I picked up from watching many creative card makers. I first blended 3 different oxide inks onto a watercolor paper, Stormy Sky, Gathered Twigs and Iced Spruce. I then spattered water all over, let it sit for a minute then used a paper towel to lift off some of the pigment. 

I then pulled out a paper from Unity’s Festive Christmas paper pack and fussy cut out a bunch of pine cones. I stamped the branches from Winter Blessing randomly using Versafine Clair Pinecone. I white embossed berries from Trust in it Wings. I then gold embossed a script stamp from an old retired Unity Kit. Once the image was complete, I then used a die set to cut the panel to size and then cut a smaller panel out. Using the same die set, I cut a slightly larger panel out of a metallic gold paper. 

Knowing I needed some sentiments I found a very old full sheet Christmas set from Unity that had the sentiments I wanted. It is one stamp that I gold embossed onto brown card stock and then fussy cut out each word. To complete the card, I made a Kraft card base, and adhered the bottom panel. I then placed the fussy cut pine cones all over and used foam tape for the smaller panel. After adhering the sentiment strips, I called the card done!

For the next card, I wanted to play with the Jolly Ol Santa kit! First, I decided I wanted to create the illusion of a chimney. Using a Darice embossing folder and Kraft card stock, I started by smooshing oxide inks in red and rust colors over the raised brick side. Once embossed, I then used a watercolor brown pen to create shadows under the bricks. I then cut the chimney section out. I then used an embossing ink to randomly create snow.

I then stamped Santa and used watercolors and metallic pens on face and fur. I stamped him again on blue and red patterned paper and fussy cut out his clothes. I did use pens on his gloves and pocket. I then turned to the background.

I pulled out navy card stock that matched the colors, knowing I wanted to create a snowy night backdrop. I white embossed the pretty snowflakes from Flurry of Flakes twice. I then decided to hand create a sack. I drew it, cut it out, added pen and pencil shading and a little white embossed snow. I then slit an opening in the top to stuff Christmas goodies. I created 2 presents using Oh, Hey There, Winter. White embossed a candy cane chipboard and added a red paper back to it. I put the pieces into the bag and added a gingerbread button I had. Finally, for sentiments, I used the Santa Unity Kit and a Simon Says die. This one will go to a special 5 year old!

As you can see, I had fun playing and creating both of these cards! What a fun theme… try it! Remember to leave your comments for a chance at winning some goodies…and make sure you leave leave your name as well!

Now, check out the rest of the hop and all the wonderful creations! You can start at the top here:

Crystal’s Blog


Wednesday, November 1, 2023

{BYSHC} November Sketch Challenge #39

 It’s that time and getting closer to the holiday season! Time to start your holiday crafting, if you haven’t yet! Here’s the newest sketch challenge:


So, I played again this month with a few different styles! First off, I was inspired by a YouTube video by Dawn at WPlus9 Design. I created 2 backgrounds using Unity winter foliage stamps. Using watercolor paper, I would inked the stamp first (using complementary colored oxide inks), spritz it with water and then stamp it. I did this several times and while the ink was still wet, I added water to the paper with a wet paint brush and let the ink spread. I just love the soft look it creates.


I then gold embossed a Unity music sheet stamp over the design. 


Finally, I cut down the paper to size and added gold sticky metallic ribbons to complete the sketch! I used a gold card base and a Gina Marie die pine cone set and a pretty Spellbinders Stylish Merry Christmas die with vellum to complete the card! I also added a little sparkly glitter and gold crystals. Turned out pretty festive!


For my second card, I turned to a die set I picked up years ago from a craft magazine (never used). I die cut it on watercolor paper and used my watercolors and pens to add color to it. I die cut a few extra flowers from the set as well. I then cut down some random matching papers into the sketch design, added string, liquid drops and called it done! I didn’t have high expectations on this one, but I think it turned out pretty cute!


Let me know what you think! Join in the fun and add your holiday sketch cards in the Facebook group for a chance at winning some goodies! Thanks for stopping by and till next time, happy crafting!