
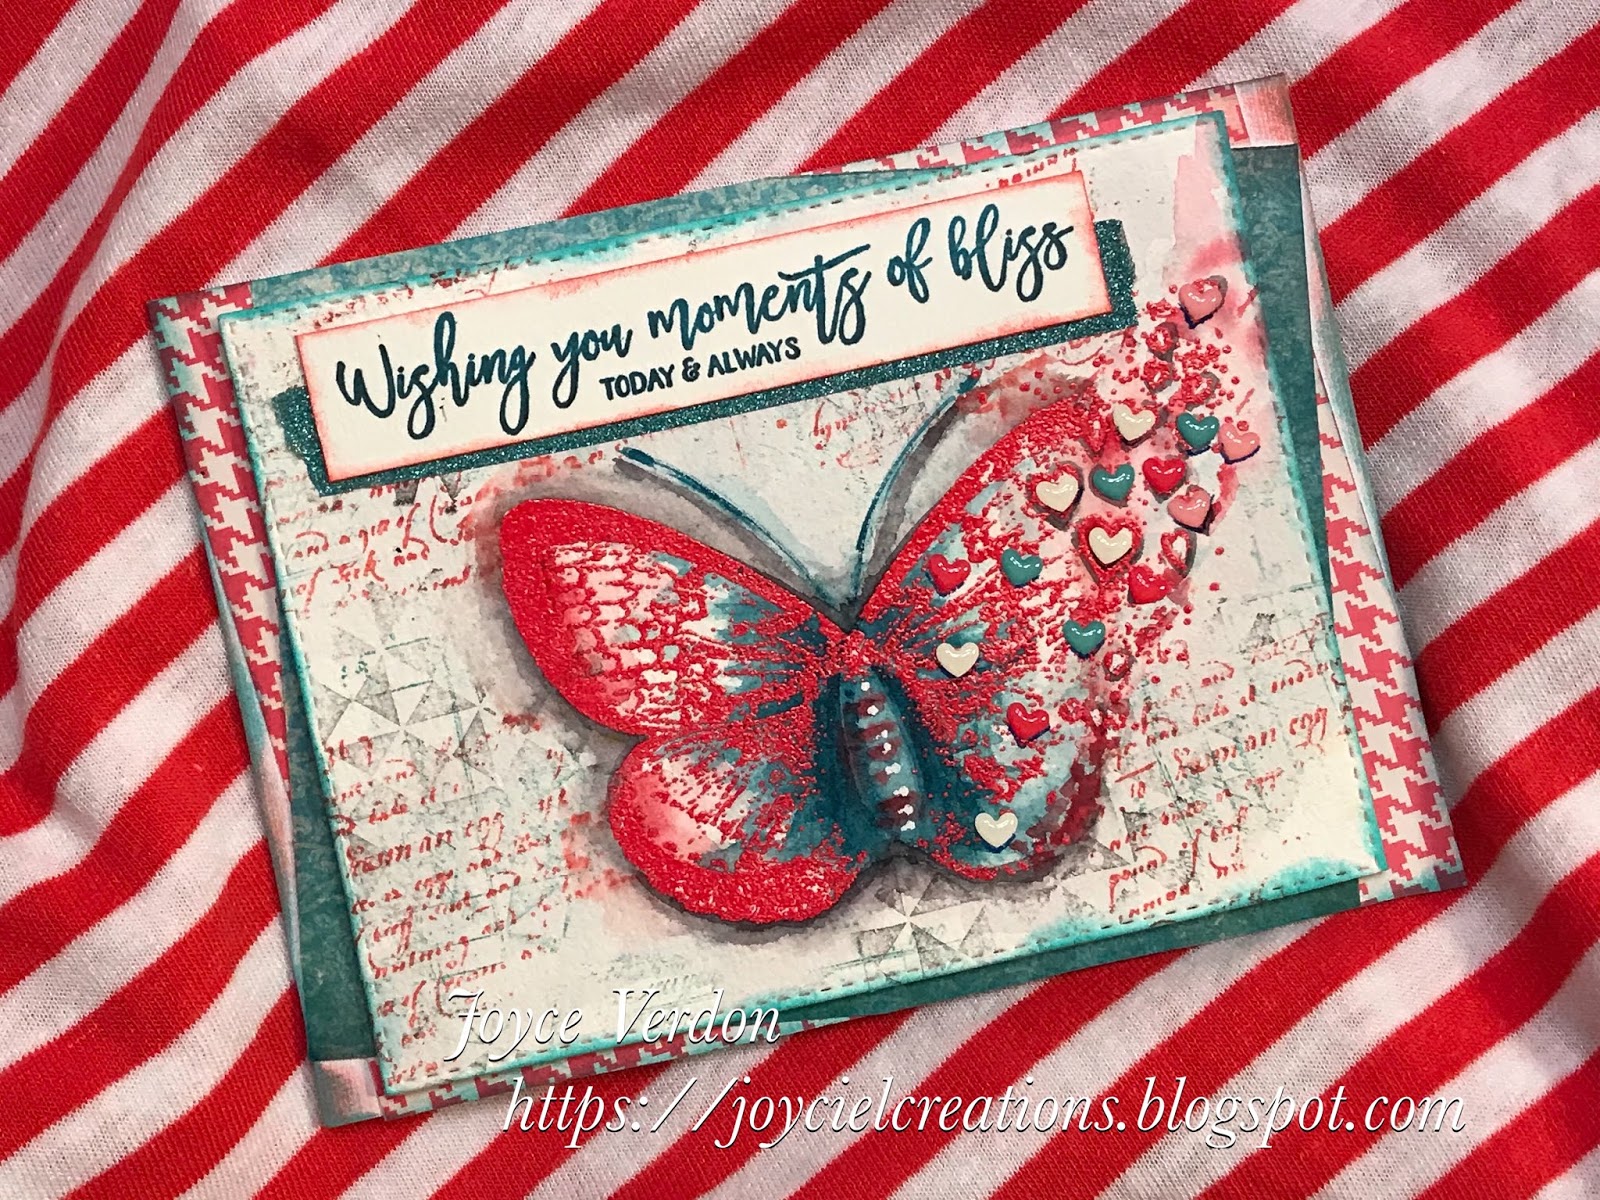
I decided I wanted to see if I could make a red butterfly and emboss it. I found a Ranger Red Geranium embossing powder in my stash and did just that on a sheet of watercolor paper. Wow, I don’t think I’ve ever embossed that size image with that embossing powder... it is very bright! I then proceeded to add colors from the palette to the butterfly using my Schmincke paints. I ended up having to contrast the bright red with a dark teal (not in the palette colors btw), and, while I was at it, fill in the body of the butterfly and added antennas. As I said in other places, I feel like the color palette ended up on steroids with this card. I did end up using a blue/gray color for the background... so, I, at least, tried to conform. And I added a shadow behind the butterfly. I used a white pen for on the body.

I decided that, now, the loudly painted butterfly needed a much busier background, so I pulled out stamps from these kits, Make Today, Hello Beautiful and Just Magic SMAK, and stamped the background with oxide and distress inks in Barn Door, Black Soot and Evergreen Bough. I die cut and inked the edges and added some mini Doodlebug hearts.
The sentiment from this kit, which I love, was way too big, so I chose a sentiment from Moments of Bliss and inked that up with a teal Momenta ink, darkened with Black Soot. I stamped on the original paper, but the background was too busy, so I used a separate paper and inked up the edges. I added a teal Washi tape first before adding the sentiment. I found coordinating papers and added them to an A6 size card base, at angles, and, inked the card edges.

Well, my gosh, this turned out completely different than the soft image I had in mind! I do love the colors and how the butterfly emerged.
Maybe, I’ll try this palette again another day! Well, till next time, Happy crafting!
PS if you are not already a subscriber or following me by email, and you enjoy my artsy endeavors, I encourage you to do so.
Stunning card, and I love that you shared the process with us! You persevered and made something very special here. :)
ReplyDeleteThank you so much, Linda!
Delete