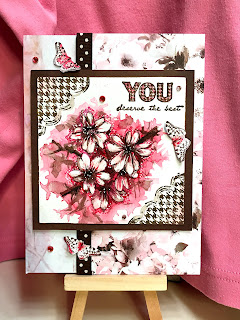
To begin, I stamped the flower stamp onto a masking sheet and cut out the flowers. I then placed my watercolor paper into my Misti and stamped the flower stamp a couple times, and then masked the flowers, changed positioning and stamped them again. Finally, I added a 3rd flower at the bottom. I used Magenta archival ink with the flowers.
I then stamped, with brown ink, the corner pieces and the sentiment, ensuring I aligned them with the grid lines on the Misti top glass piece.
To color the flowers,I used my Kuretake inks in the red and brown range. I colored in a background as well to make the white flowers pop. I then added “branches”. I added pale pink to the corners and the word You. I used a white pen to brighten the flowers in spots, and to add dots in the flower centers and surrounding the flowers.
To pull the card together, I used a marble paper from the pad as the base, and added another partial sheet with brown ribbon offset. I added the image backed with brown paper, some some fussy cut butterflies and crystal dots. I did add a little color to the butterflies to match my painting.
I have not added any sparkle yet, but I could see adding a little to the butterflies later, we’ll see. This was a good exercise, as in my painting class I had to try to paint the negative space and I haven’t tried that since then. Hope you like this card!


Lovely!!
ReplyDeleteSandy, thank you! I definitely need more practice but I think it worked out!
Delete